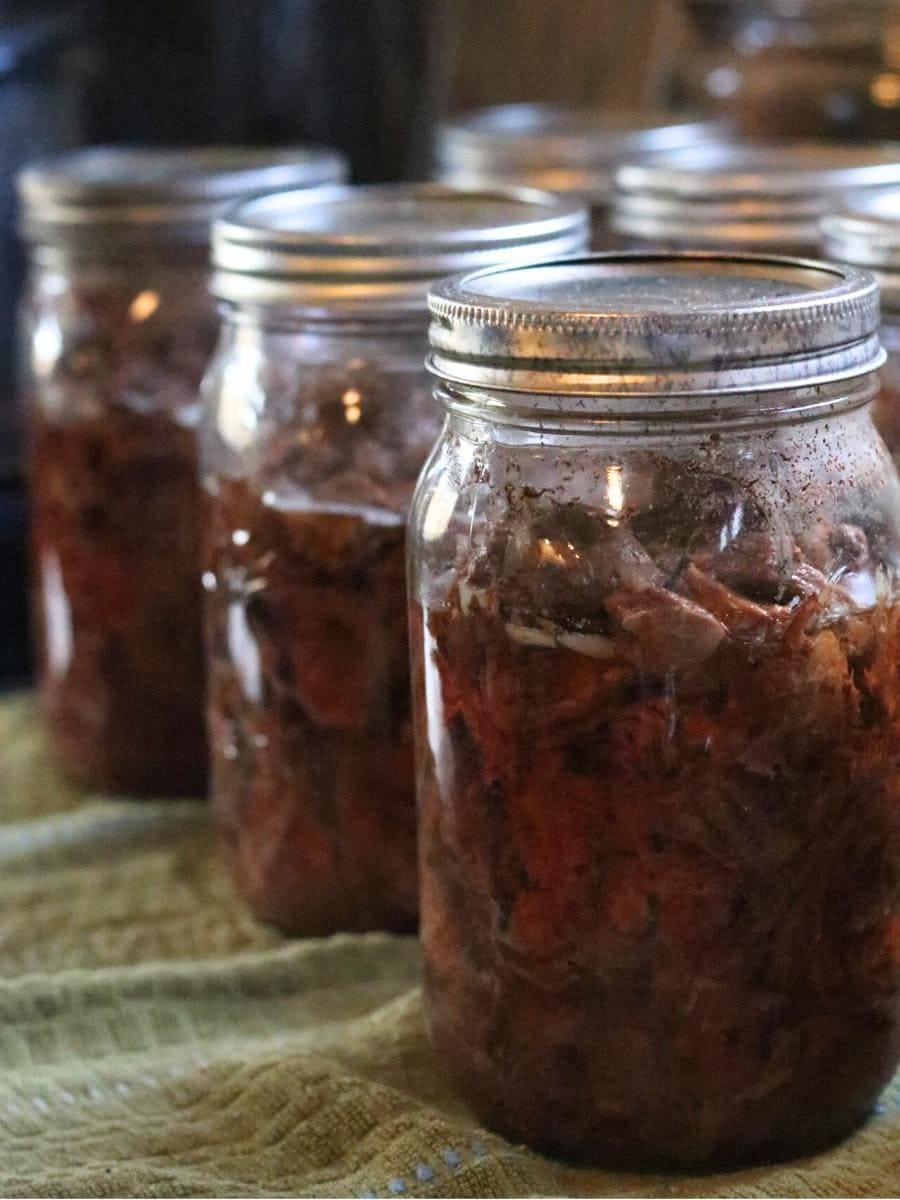
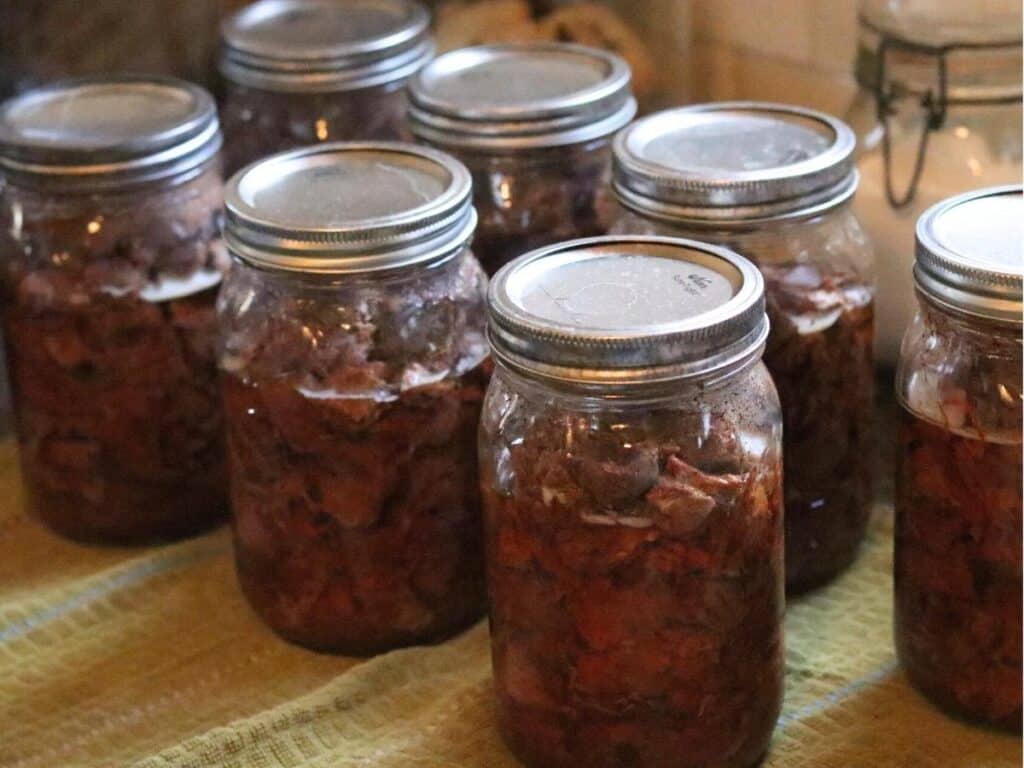
Turn wild game into home-canned meat by learning how to can venison in a pressure canner! This method is a great way to save valuable freezer space and store your meat in jars for quick meals during busy weeks, while also stocking your pantry for long-term food security.
This tutorial is for beginner and experienced canners alike and walks you through the raw pack method for pressure canning venison, step by step.
This post may contain affiliate links, please read our disclosure policy for details.
Pressure-canned venison is a favorite way to eat deer meat on our homestead. The canning process makes tough cuts of venison extra tender, and the final product is perfect for those of us who have trouble chewing meat in general (thanks to TMJ).
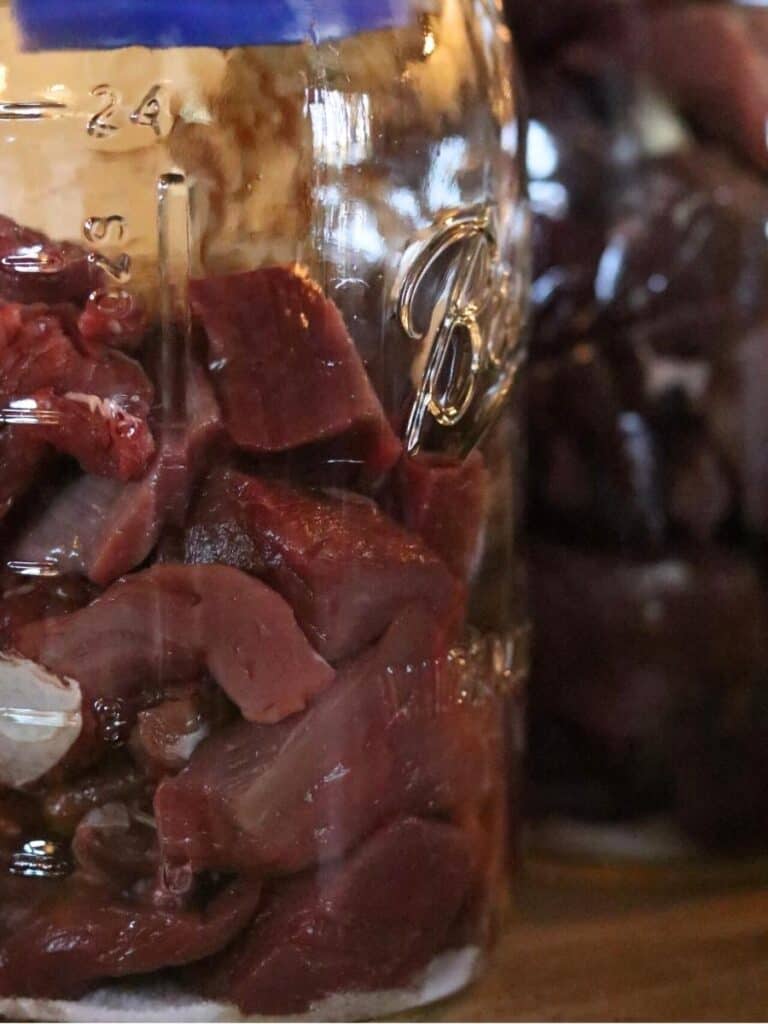
The raw pack method is my favorite because there are no extra steps or prep work involved. Just cut up the meat, put it in jars, and straight into the canner it goes!
Hunting and butchering season is one of the busiest times of the year for us. We usually have an assembly line going with all the children helping to cut, grind, package, can, label, and haul off the finished product to the freezer or pantry.
This no-fuss canning method is also one that children can safely help with. Getting them involved helps build appreciation for where their food comes from, and all the hard work it takes to get it ready for a hearty meal.
Whether you’re an experienced canner or this is your first time canning meat, the raw pack method is a great way to preserve red meat for future use.

Why You’ll Love Canned Venison
Here are a few reasons this is one of our favorite ways to preserve deer meat:
Raw Pack vs. Hot Pack Venison
When learning how to can venison, you’ll often see two approved methods mentioned: raw pack and hot pack. Both are safe when pressure canned properly, but there are a few key differences.
Raw pack venison is packed into jars uncooked, without added liquid. During processing, the meat releases its own juices and creates a rich broth in the jar. This is my preferred method because it’s faster, involves less prep, and still results in very tender meat.
Hot pack venison is partially cooked before being packed into jars with liquid. Some people prefer this method because the jars may end up slightly more full after processing, but it requires extra time and dishes. However, the hot pack method is required for certain situations, such as when you can ground meat.
For most home canners—especially during a busy hunting season—the raw pack method is simple, efficient, and reliable.
Ingredients You Need For This Tutorial On How To Can Venison Using The Raw Pack Method
Notes
What type of canner should I use?
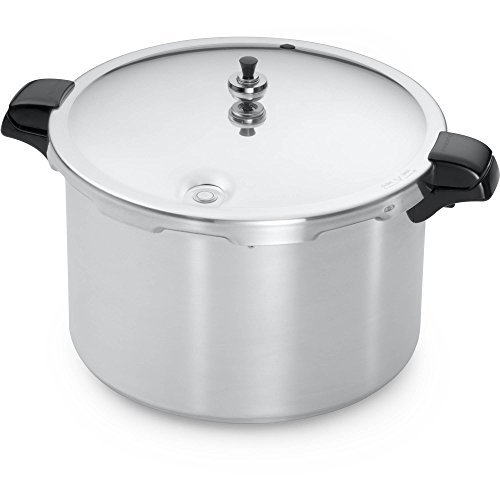
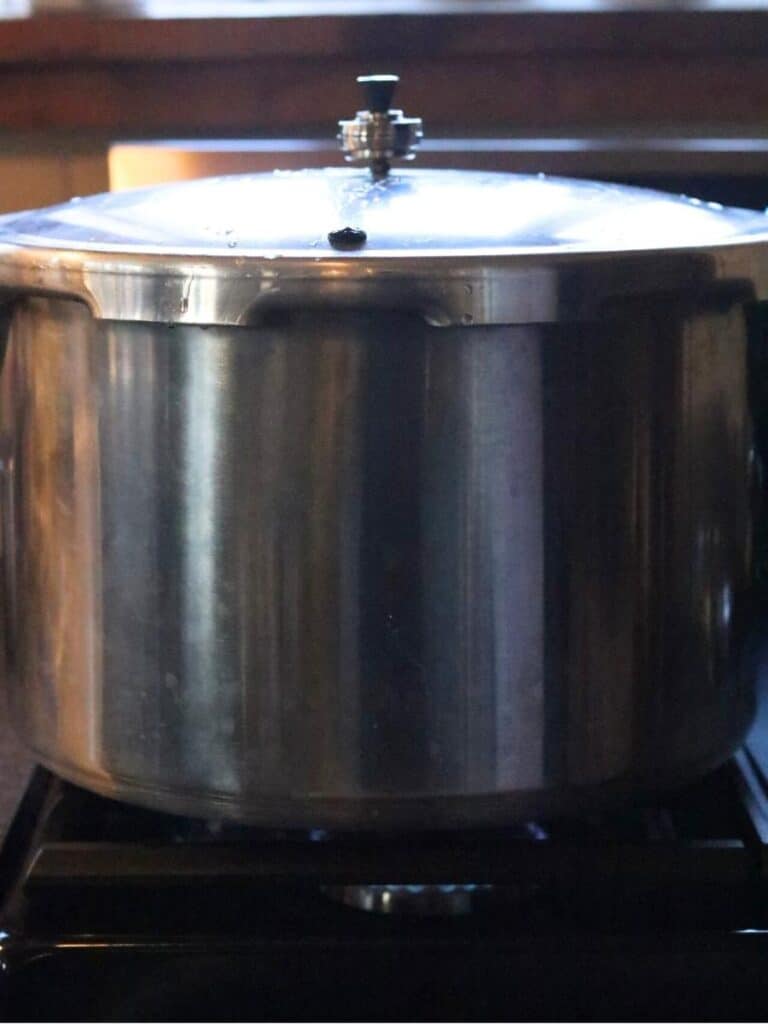
I use a Presto weighted-gauge pressure canner, and that is the only type I am familiar with. There are several different brands of both weighted-gauge and dial-gauge canners. I prefer the weighted one because it does not need to be professionally tested for accuracy on an annual basis like the dial gauge. For more information you can read what Presto and Penn State have to say about the difference, as well as this thorough comparison.
Can I use a water bath canner instead?
No! Venison is a low-acid food and must be canned using a pressure canner. Do not attempt to water-bath can meat — it will not reach the temperature needed to destroy harmful bacteria and can cause serious illness. Always follow USDA-approved pressure canning guidelines.
What size of jars should I use?
The size of jar you need depends on how much meat you have to can. We usually have a large quantity of meat, so I like to use quart jars. I also prefer wide mouth over regular mouth jars because it is much easier to get the meat out when you’re ready to use it.
What’s the difference between Low vs. High Acid Foods?
Low-acid foods (like venison, beef, poultry, and most vegetables) must be pressure canned to safely destroy bacteria. High-acid foods (like fruits, pickles, and jams) can be safely water-bath canned. Always follow USDA-approved guidelines for the type of food you’re preserving.
Tools & Equipment To Pressure Can Deer Meat
Shop the Tools


Processing Time & Pressure for Canning Venison
You must pressure can venison using USDA-approved processing times because it’s a low-acid food. Processing time is based on jar size, while pressure must be adjusted for altitude and canner type.
Always vent steam from the canner for a full 10 minutes before adding pressure. Begin timing only once the correct pressure is reached and maintained.
If you live above 1,000 feet, pressure adjustments are required.
How to Find Your Altitude
If you’re not sure of your altitude, you can:
- Check your location in Google Maps (search your address and scroll to see elevation)
- Look up your city or county elevation on a weather or government website
- Check your pressure canner manual, which often lists altitude ranges
When in doubt, round up to the next highest altitude range for safety.
Altitude Adjustments by Canner Type
Dial-Gauge Pressure Canners
| Altitude | Pressure | Processing Time |
|---|---|---|
| 0–2,000 ft | 11 lbs | Pints: 75 min · Quarts: 90 min |
| 2,001–4,000 ft | 12 lbs | Pints: 75 min · Quarts: 90 min |
| 4,001–6,000 ft | 13 lbs | Pints: 75 min · Quarts: 90 min |
| 6,001–8,000 ft | 14 lbs | Pints: 75 min · Quarts: 90 min |
Weighted-Gauge Pressure Canners
| Altitude | Pressure | Processing Time |
|---|---|---|
| 0–1,000 ft | 10 lbs | Pints: 75 min · Quarts: 90 min |
| Above 1,000 ft | 15 lbs | Pints: 75 min · Quarts: 90 min |
Note: Processing time does not change with altitude; only the pressure is adjusted.
Always follow current USDA-approved pressure canning guidelines and your pressure canner manufacturer’s instructions. Processing times and pressure must be adjusted for altitude to ensure safe home canning.

Before You Begin
Before getting started, it helps to understand the overall flow of this canning process. I like to trim and prepare the venison first, then keep it refrigerated while I get the jars and pressure canner ready. This keeps the meat cold and safe while allowing you to focus on one task at a time. Once everything is prepped, the canning process itself moves smoothly and efficiently.
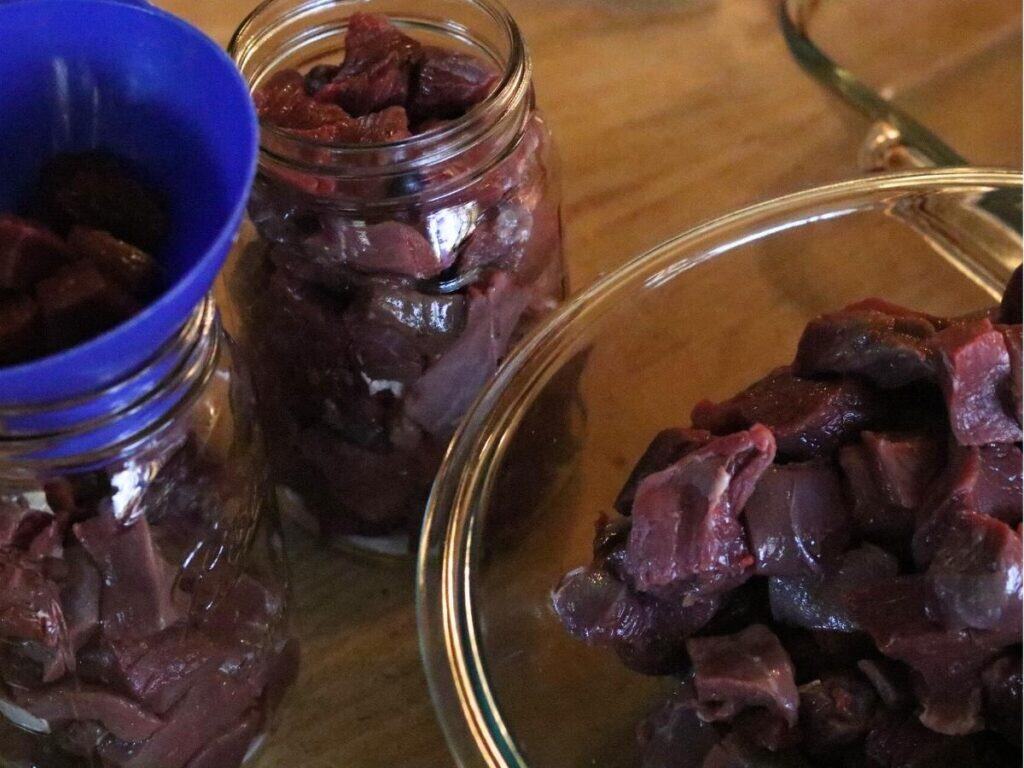
Prep the Meat
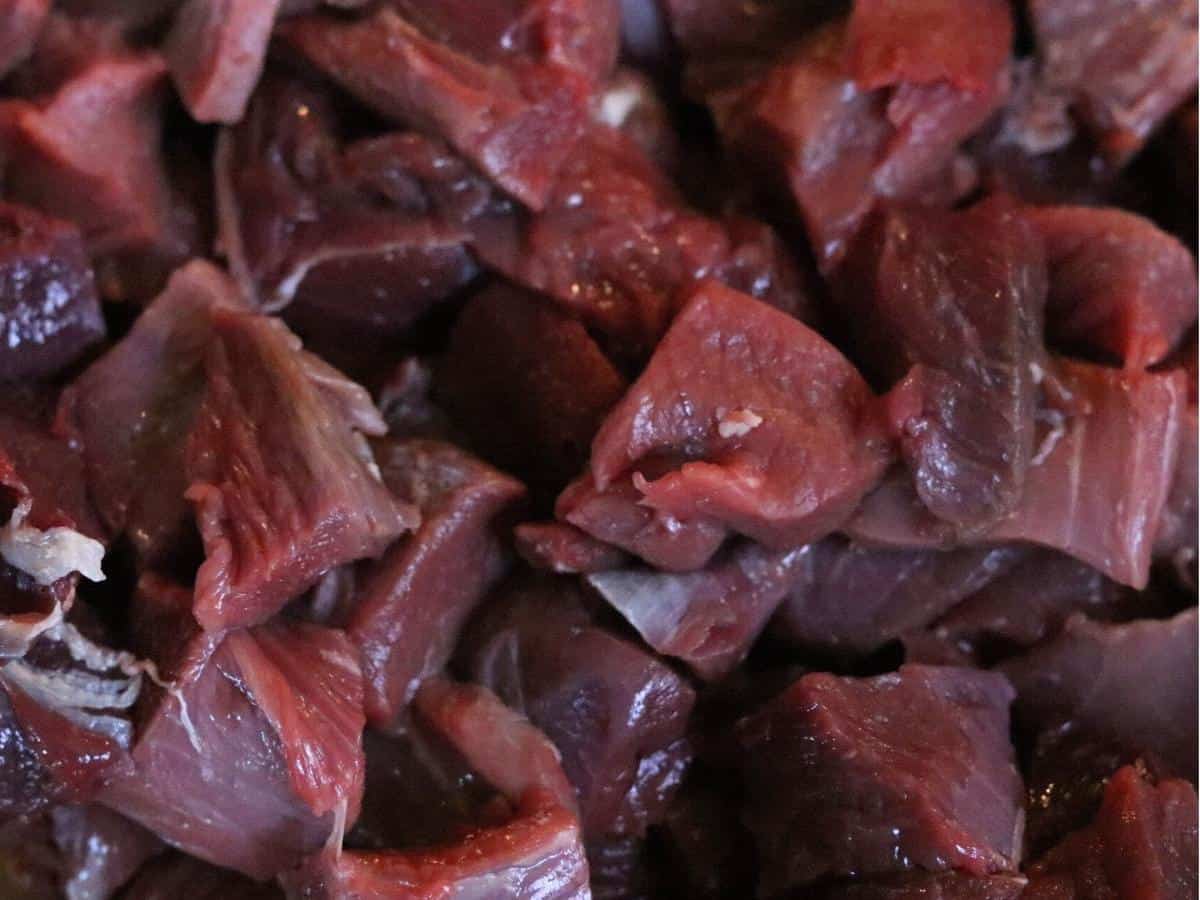
- Trim off silver skin and excess fat (if there is any!) from the venison.
- Cut the meat into chunks and place it in a covered bowl or container.
- Refrigerate while you prepare the jars and canner.
Check & Prep Your Jars
- Inspect each jar for chips or cracks, especially along the rim. Even a small chip can prevent a proper seal.
- Wash all jars and lids in very hot, soapy water. Keeping jars warm until ready to fill helps prevent breakage.
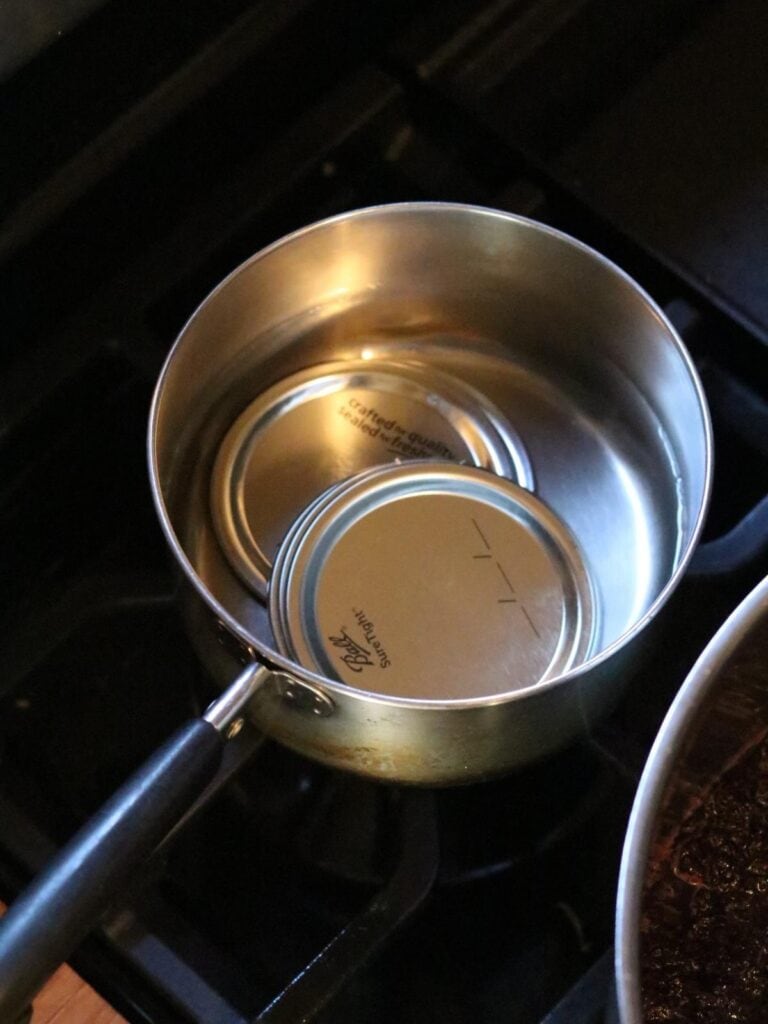
- Optional: Preheat jars in a 225°F oven and warm lids in a small saucepan with just enough water to cover them. Don’t boil—just warm. (I don’t sterilize my jars first; see why here.)
Prepare Your Pressure Canner
- Always follow your pressure canner manufacturer’s instructions for filling, heating, and operating the canner. Safety first!
Once everything is ready, move on to the step-by-step canning instructions below.

For a quick, printable version of the ingredients and instructions, see the recipe card below.
Before we dive into pressure canning meat, I want to pause for a quick note. These are the steps I personally use here on our homestead. Canning methods can vary, so it’s important to use your own judgment and follow safe canning practices.
How to Can Venison in a Pressure Canner (Raw Pack Method): Step-by-Step
- Remove meat from refrigerator: Once your jars are warm and the canner is heating, take the prepared venison out of the refrigerator so it’s ready to pack.
- Add salt (optional): If using salt, add 1 teaspoon to each quart jar or ½ teaspoon to each pint jar.
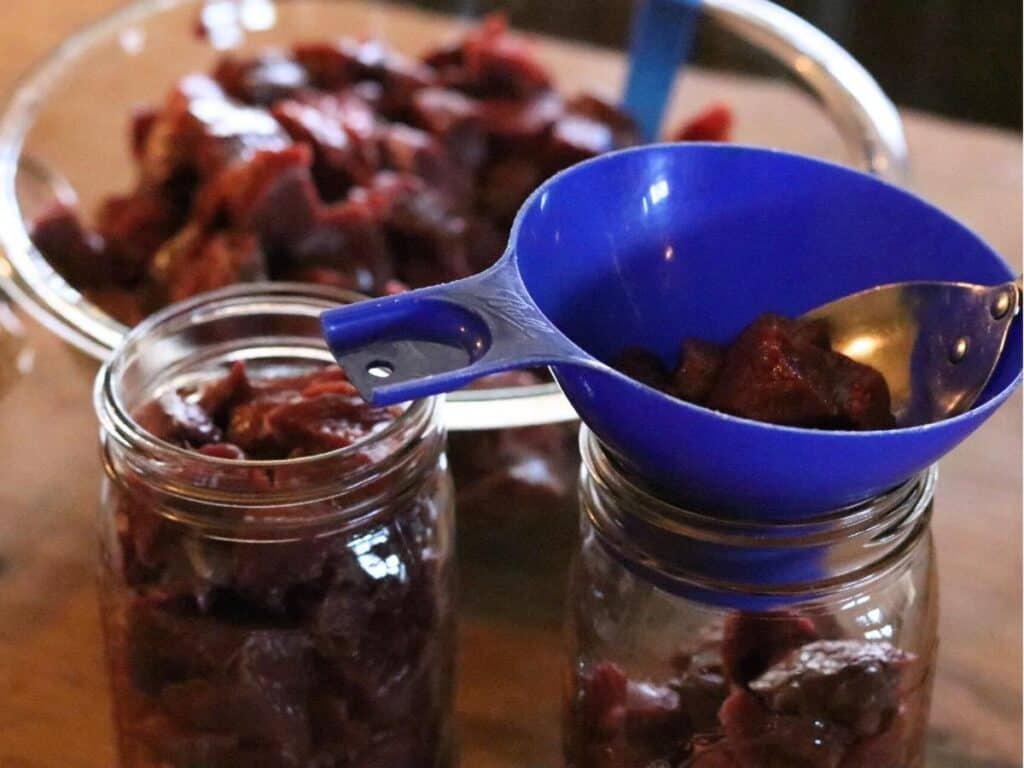
- Pack the jars: Fill warm jars with raw venison, packing loosely. Do not overpack. Leave 1 inch of headspace at the top of each jar.
- Remove air pockets: Slide a butter knife or headspace tool down the inside of the jar, carefully dragging it around the perimeter to release trapped air. Adjust the meat if needed to maintain proper headspace.
- Clean rims and apply lids: Wipe jar rims with a clean, damp cloth. Place lids on jars and screw bands on fingertip tight.
- Load the pressure canner: Using a jar lifter, place jars into the prepared pressure canner, leaving space between jars as recommended by the manufacturer.
- Vent the canner: Secure the canner lid. Heat on medium-high until a steady stream of steam escapes. Vent steam for a full 10 minutes.
- Bring to pressure: Heat the canner according to the manufacturer’s directions until it reaches the recommended pressure for your altitude. Begin timing when your canner reaches and maintains the recommended pressure. For weighted-gauge canners, this is when the weight begins to jiggle steadily; for dial-gauge canners, this is when the dial shows the correct pressure for your altitude.
- Process jars – Pints: 75 minutes; Quarts: 90 minutes.
- Cool the canner: When processing time is complete, turn off the heat and allow the canner to cool naturally until the pressure valve drops. Do not try to speed up this process!
- Remove jars: Once the pressure has fully returned to zero, carefully open the lid, tilting it away from you. Let it sit for 5-10 more minutes, and then use a jar lifter to remove jars and place them on a towel.
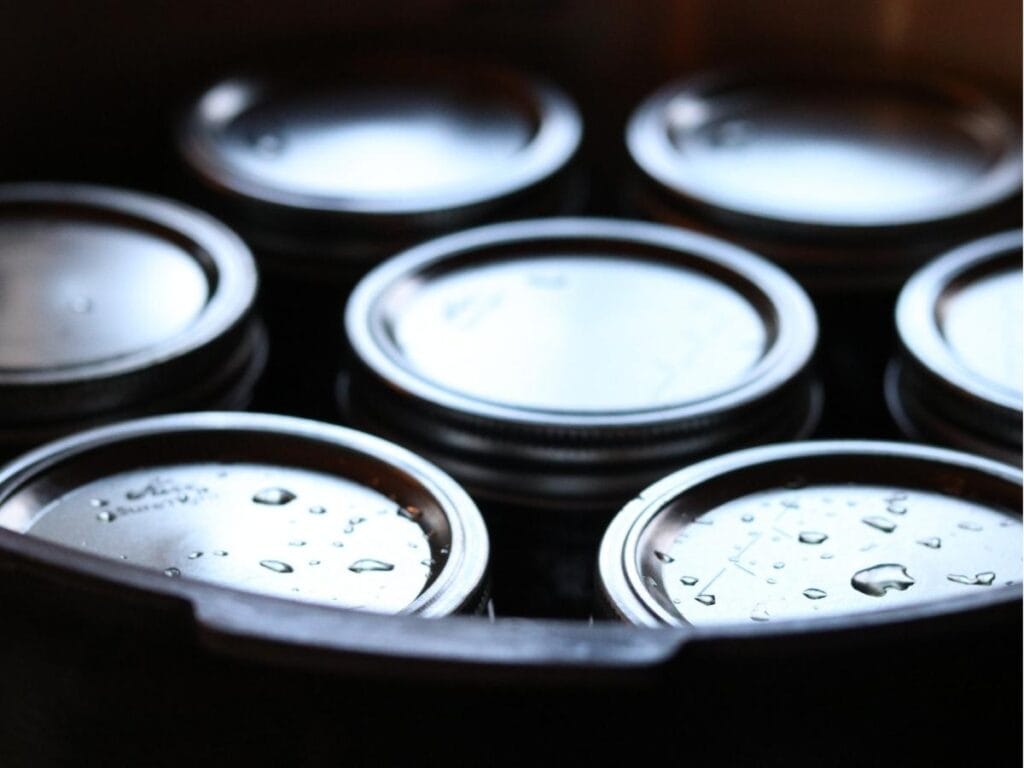
- Cool and check seals: Allow jars to cool undisturbed for 24 hours. Check seals, remove rings, label, and store.


Would you like to save this?
Recipe Tips
*Don’t add water or liquid to the jars. The venison releases it’s own juice while canning, and the jars will come out of the canner mostly filled with broth.
*Don’t vent the canner for more than 10 minutes or let it process longer than the recommended time. I sometimes add an extra 5 minutes for peace of mind, but it isn’t necessary. Leaving jars too long may warp the canner bottom.
*Don’t over pack the jars! Just add the meat and let it settle naturally.

Safety & FAQs About Pressure Canned Venison
Read this article for more information on canning meat strips, cubes, or chunks, and this one about ensuring safe canned food.
Storage & Reheating
Ways to Use Canned Venison

Other Canning Recipes
I hope you love this tutorial on how to can venison! If you try it, be sure to leave a rating and comment—I love hearing how these recipes and methods work in your own kitchen.
Did you make this recipe?
We’d love to see! Tag @heartwood_holler_homestead on Instagram! #heartwoodholler (And then come back and leave a review!)
Join the List
Subscribe
For more homestead recipes, make sure to sign up for my newsletter so you don’t miss a post!
Pin It For Later!
How to Can Venison in a Pressure Canner (Raw Pack Method)
Want a printer-friendly version of this recipe? (Enter your email to get it instantly.)
Equipment
- Pressure canner
- Wide mouth jars (pints or quarts)
- Lids and rings (new lids)
- Headspace tool (or butter knife)
- Jar lifter (a lid lifter is also helpful)
- Funnel
- Knife
- cutting board
- Bowl
Ingredients
- Deer meat (cut into cubes)
- Salt: 1/2 teaspoon for pints and 1 teaspoon for quarts (optional)
Instructions
- Prep the meat: Trim silver skin and fat, cut into chunks, and refrigerate.
- Prep the jars: Check jars for chips. Wash jars and lids. (Optional: warm jars and lids.)
- Prep the canner: Follow your canner’s instructions for filling and heating.
- Remove meat from refrigerator: Take the prepared venison out so it’s ready to pack.
- Add salt (optional): Add 1 teaspoon to each quart jar or ½ teaspoon to each pint jar.
- Pack the jars: Fill warm jars loosely with raw venison, leaving 1 inch of headspace at the top.
- Remove air pockets: Slide a butter knife or headspace tool down the inside of the jar and carefully drag it around the perimeter to release trapped air. Adjust meat if needed to maintain proper headspace.
- Clean rims and apply lids: Wipe jar rims with a clean, damp cloth. Place lids on jars and screw bands on fingertip tight.
- Load the pressure canner: Using a jar lifter, place jars into the prepared pressure canner, leaving space between jars as recommended by the manufacturer.
- Vent the canner: Secure the lid and heat on medium-high until a steady stream of steam escapes. Vent steam for a full 10 minutes.
- Bring to pressure: Heat the canner according to the manufacturer’s directions until it reaches the correct pressure for your altitude. Begin timing only once pressure is fully reached and maintained.
- Process jars: Pints – 75 minutes; Quarts – 90 minutes. Maintain pressure for the full time.
- Cool the canner: Turn off the heat and let the pressure drop naturally until the canner is fully depressurized.
- Remove jars: Carefully open the lid away from you and use a jar lifter to remove jars. Place on a towel to cool.
- Cool and check seals: Let jars cool undisturbed for 24 hours. Check seals, remove rings, label jars, and store in a cool, dark location.
Notes
- No added liquid needed: The venison releases its own juices during canning, filling the jar with flavorful broth.
- Do not overpack jars: Leave some space for the meat to settle naturally.
- Canner venting: Vent the canner for exactly 10 minutes—no longer. Processing beyond recommended time can warp the canner.
- Salt is optional: Add salt before canning if desired; other seasonings can be added later when cooking.
- Jar safety: Warm jars before filling to prevent breakage. Preheating lids in warm water is recommended, but boiling isn’t necessary.
- Storage: Keep sealed jars in a cool, dark place. Best quality is within 12–18 months. Always check seals before using.


Love that this saves so much freezer space and it’s perfect to pull out for dinner!
Yes, those are some great benefits!
We have so much venison in our freezer, I’ve thought about canning but haven’t yet. Does it change the flavor of the meat? I can definitely see it making the meat really tender. Thanks for the inspiration to get some of ours out of the freezer and into jars!
I think the flavor is similar to a slow cooked venison roast. All canned meat seems to have a bit of a different flavor, and yes it’s SO tender!
This was so helpful! Ive always been interested in canning, I’m definitely saving this for next hunting season. Your instructions are so clear and simple to follow with confidence. Thank you!
You are welcome! I hope it comes in handy for you next season!
WOW! This is such a great guide! We’ve never raw canned venison, but this makes me want to add it to our pantry!
You should give it a try Penny!
I love canned meat. Thank you for such a detailed tutorial. We can almost our entire deer harvest and some beef every year. It’s our favorite way to have tacos and chili! The meat just shreds so well.
That’s great! Do you can ground as well? I didn’t like how my ground beef turned out canned, but I might try again!
This is a great guide, very thorough and easy to follow! I don’t usually have venison, altough I’m considering getting some with all the deer that visit my new orchard and pruning the little trees a bit heavily, lol. I’ll definitely be back here if I do get one. But I think this would be great for goat meat too! I’ve only ever canned it roasted with broth.
It should work great for any red meat! I hope the deer leave your garden alone!
This was a great guide! All the steps were so well explained and detailed. I’ve learned a few things I didn’t know before. Thanks!
So glad you found it helpful!
This is such a valuable skill, great post! We hunt every year and freeze most of it but having it canned gives so much peace of mind!
Yes, I agree, and we freeze a lot as well!
My spouse and I stumbled over here different website and thought
I should check things out. I like what I see so now i am following you.
Look forward to looking over your web page again.
Thank you so much, it’s good to have you! Please let me know if there are any topics in particular you’d like to hear about.
Wonderful piece — informative, fair, and well-written. I genuinely look forward to new posts here.
Thank you so much, I really appreciate the encouraging words!
Right here is the right blog for anyone who hopes to find out about this topic.
You know so much its almost hard to argue with you (not that I personally would
want to…HaHa). You definitely put a fresh spin on a subject which has been discussed for many years.
Great stuff, just excellent!
Thank you for reading, and for the nice words!
This piece is concise yet surprisingly complete. The website keeps impressing me.
Thank you so much, that is my goal!